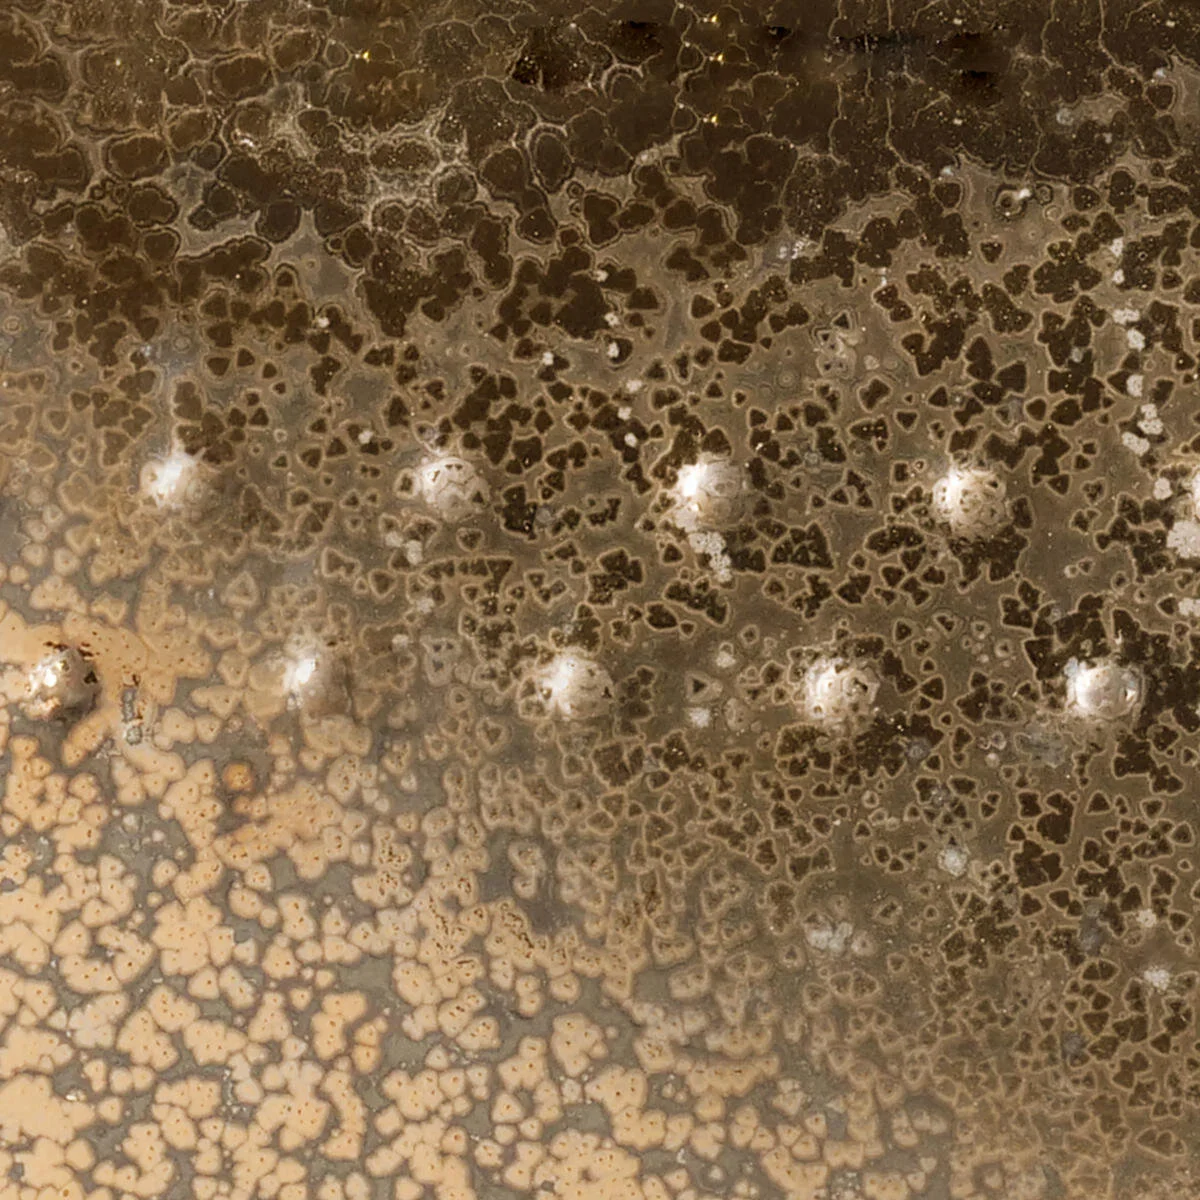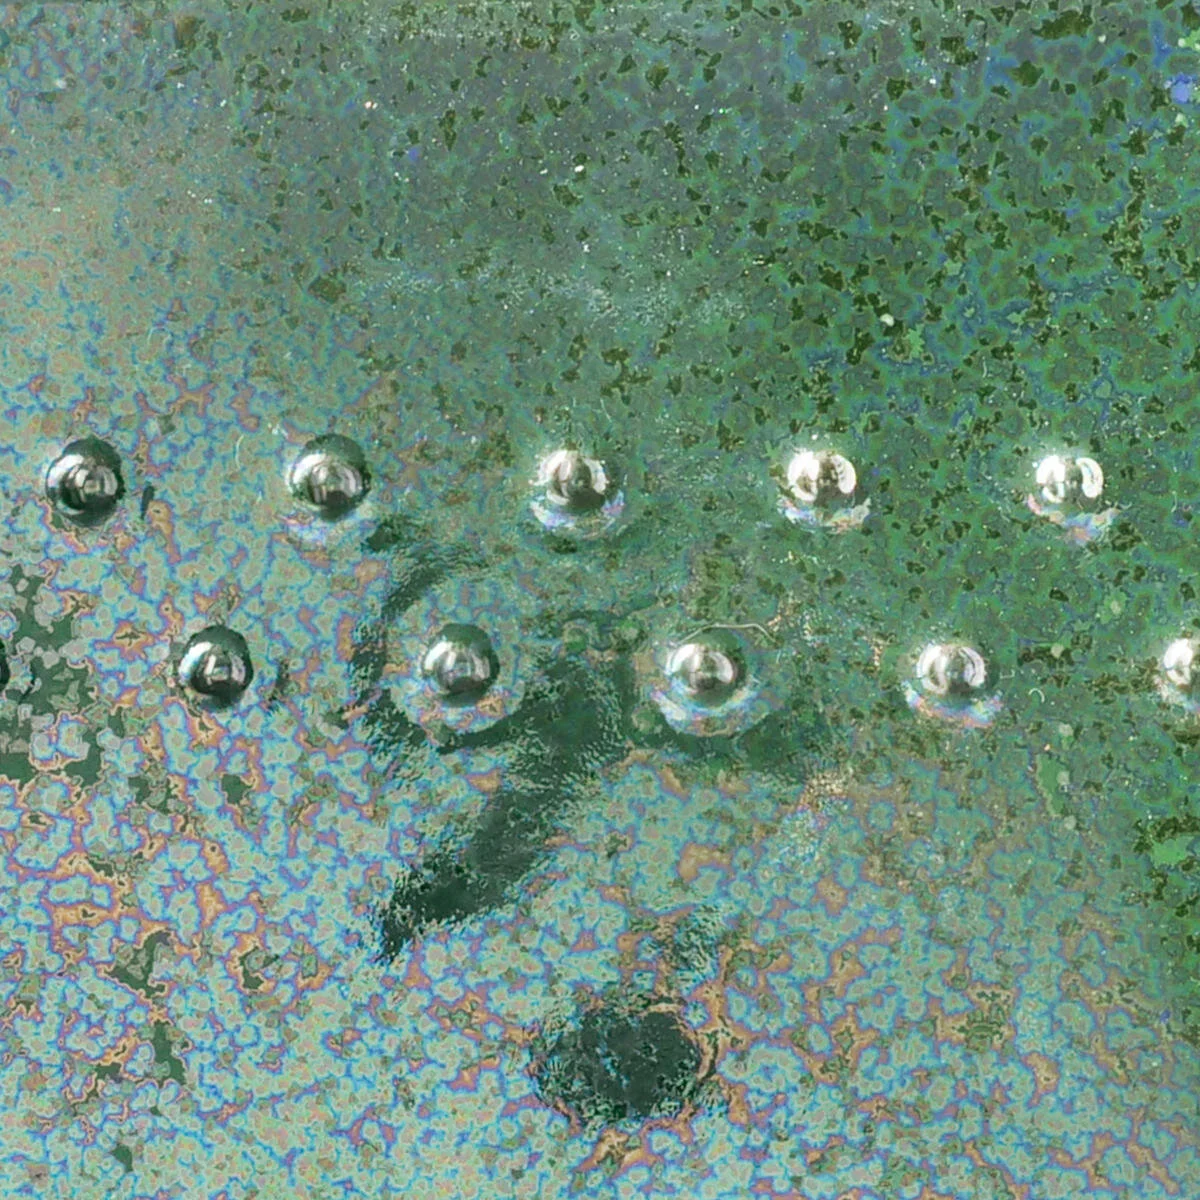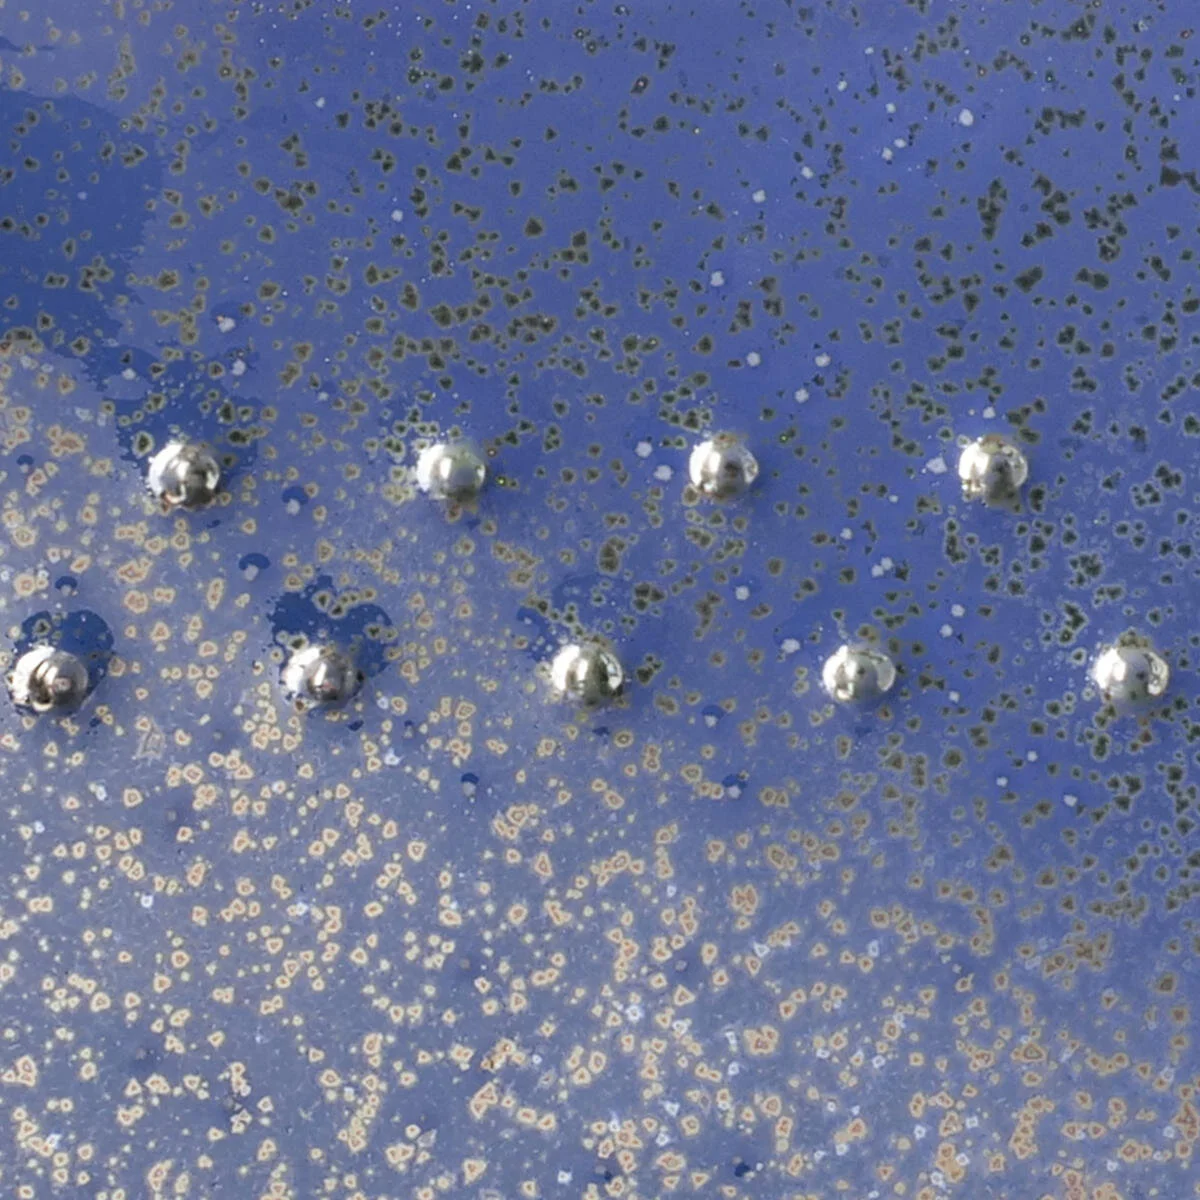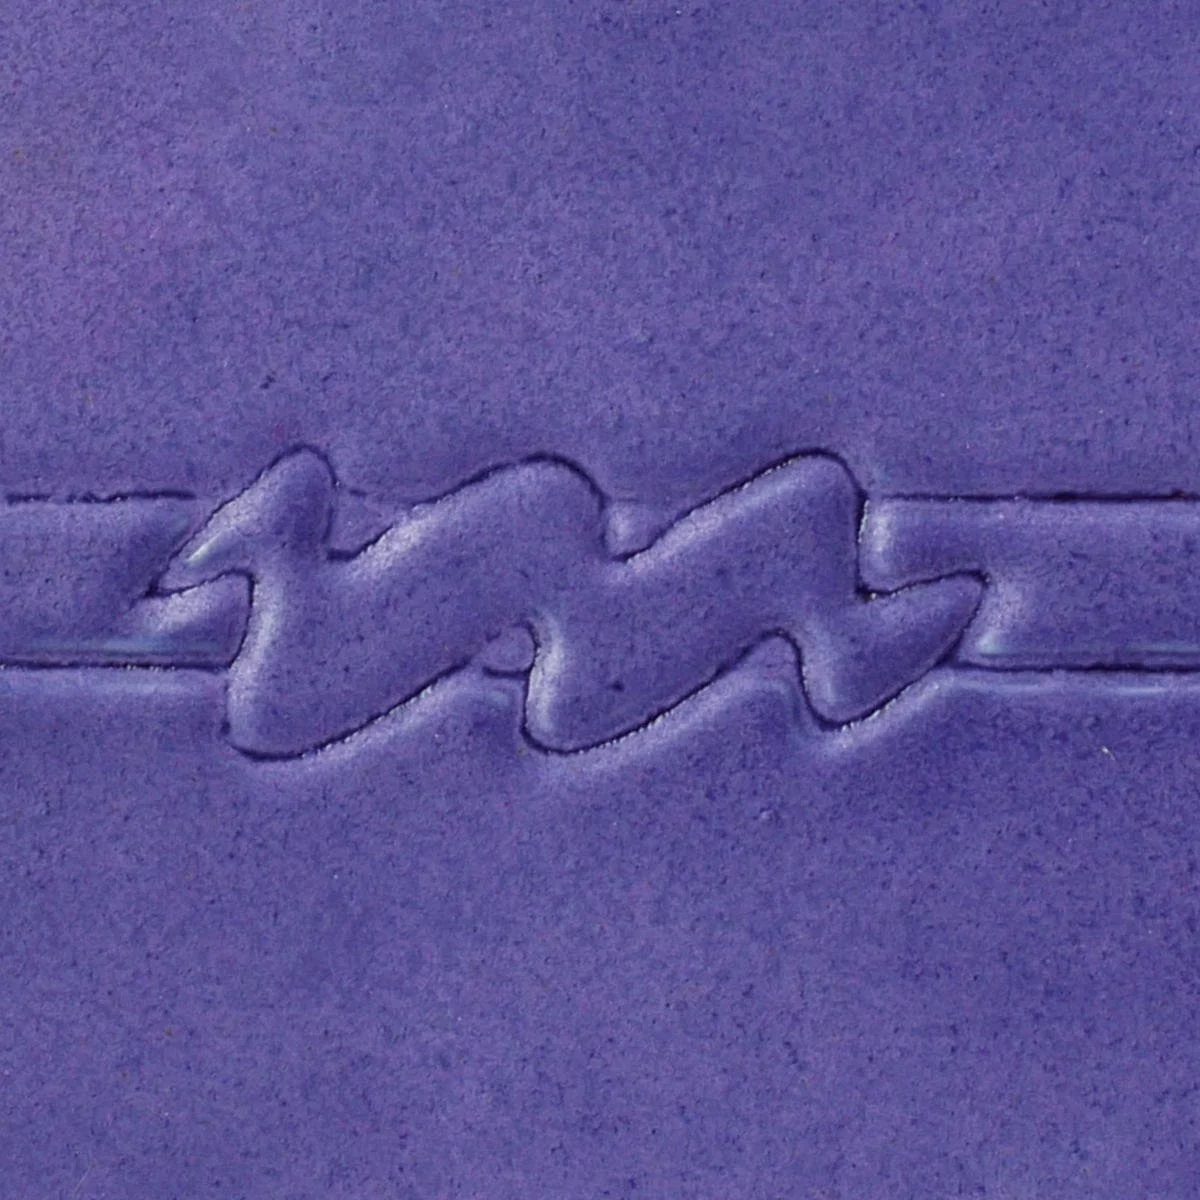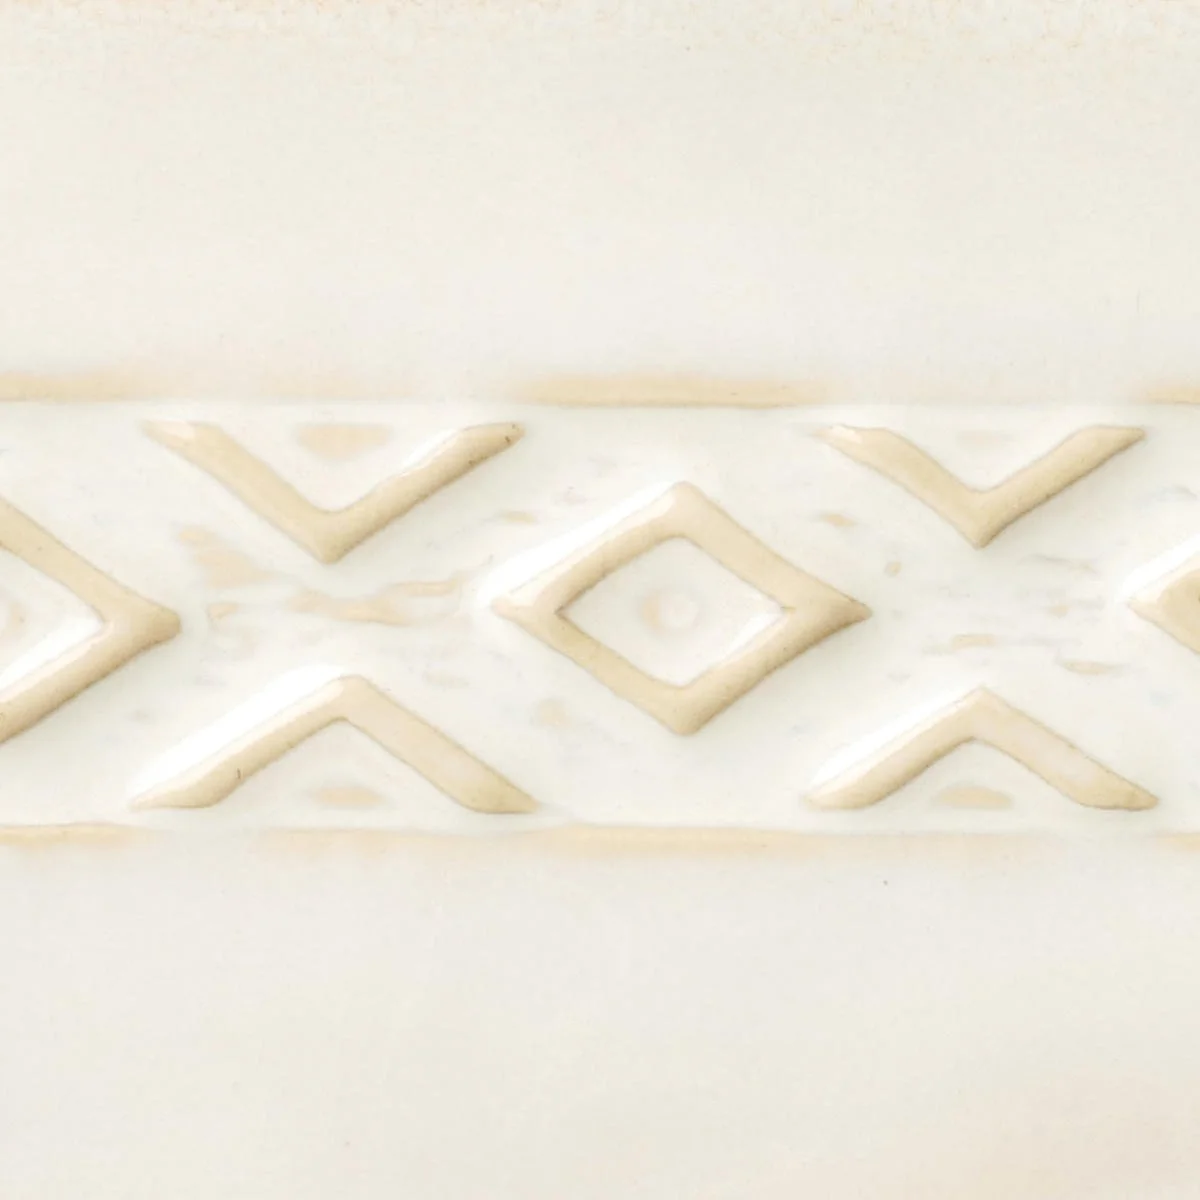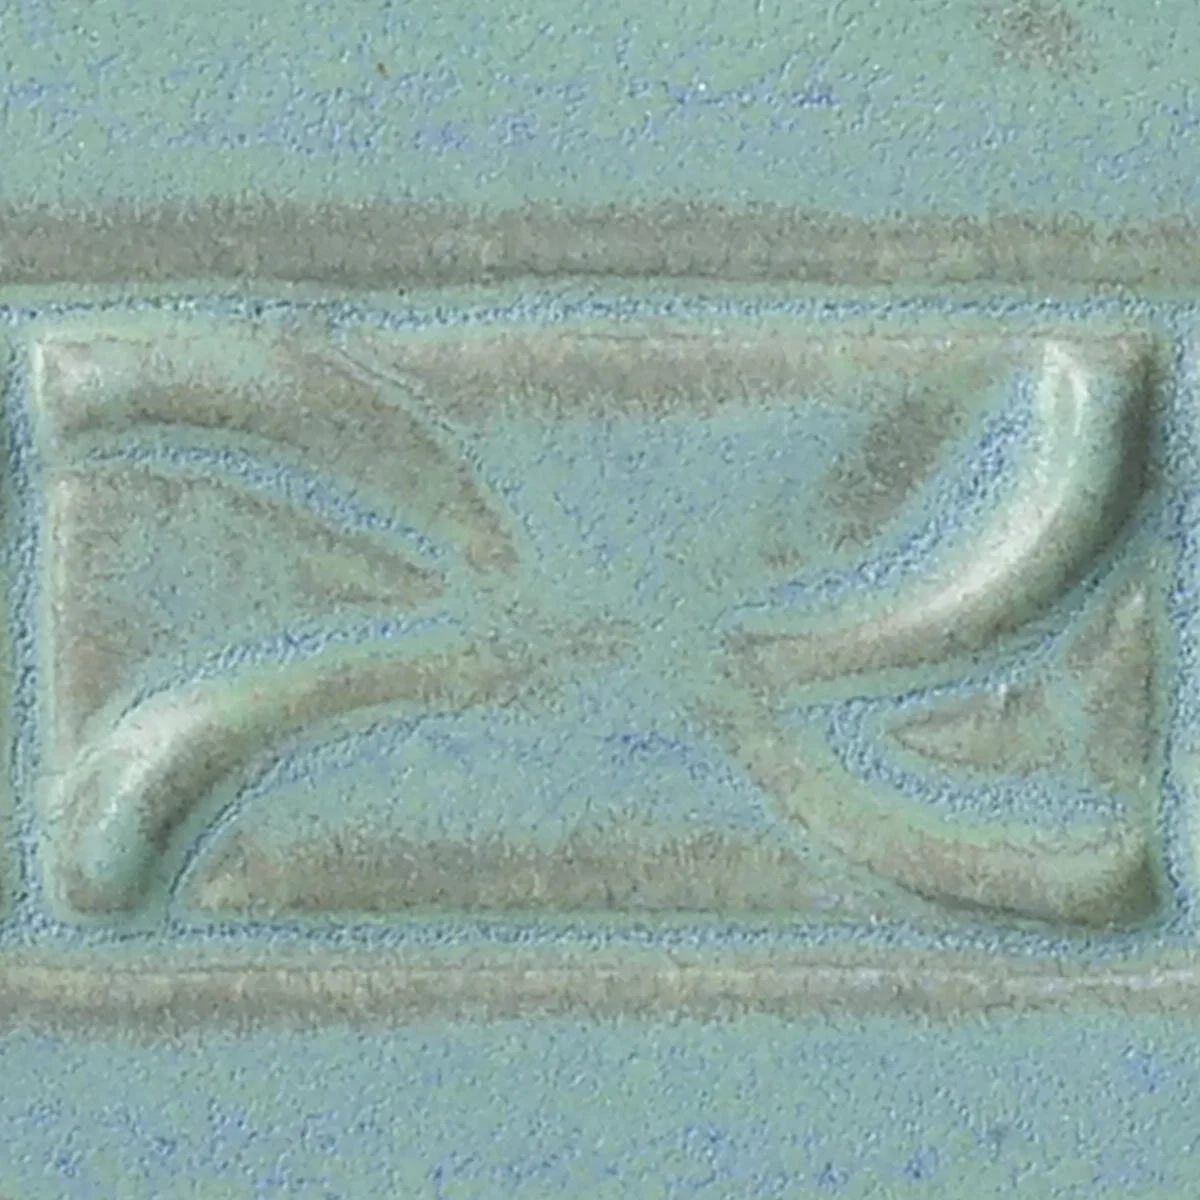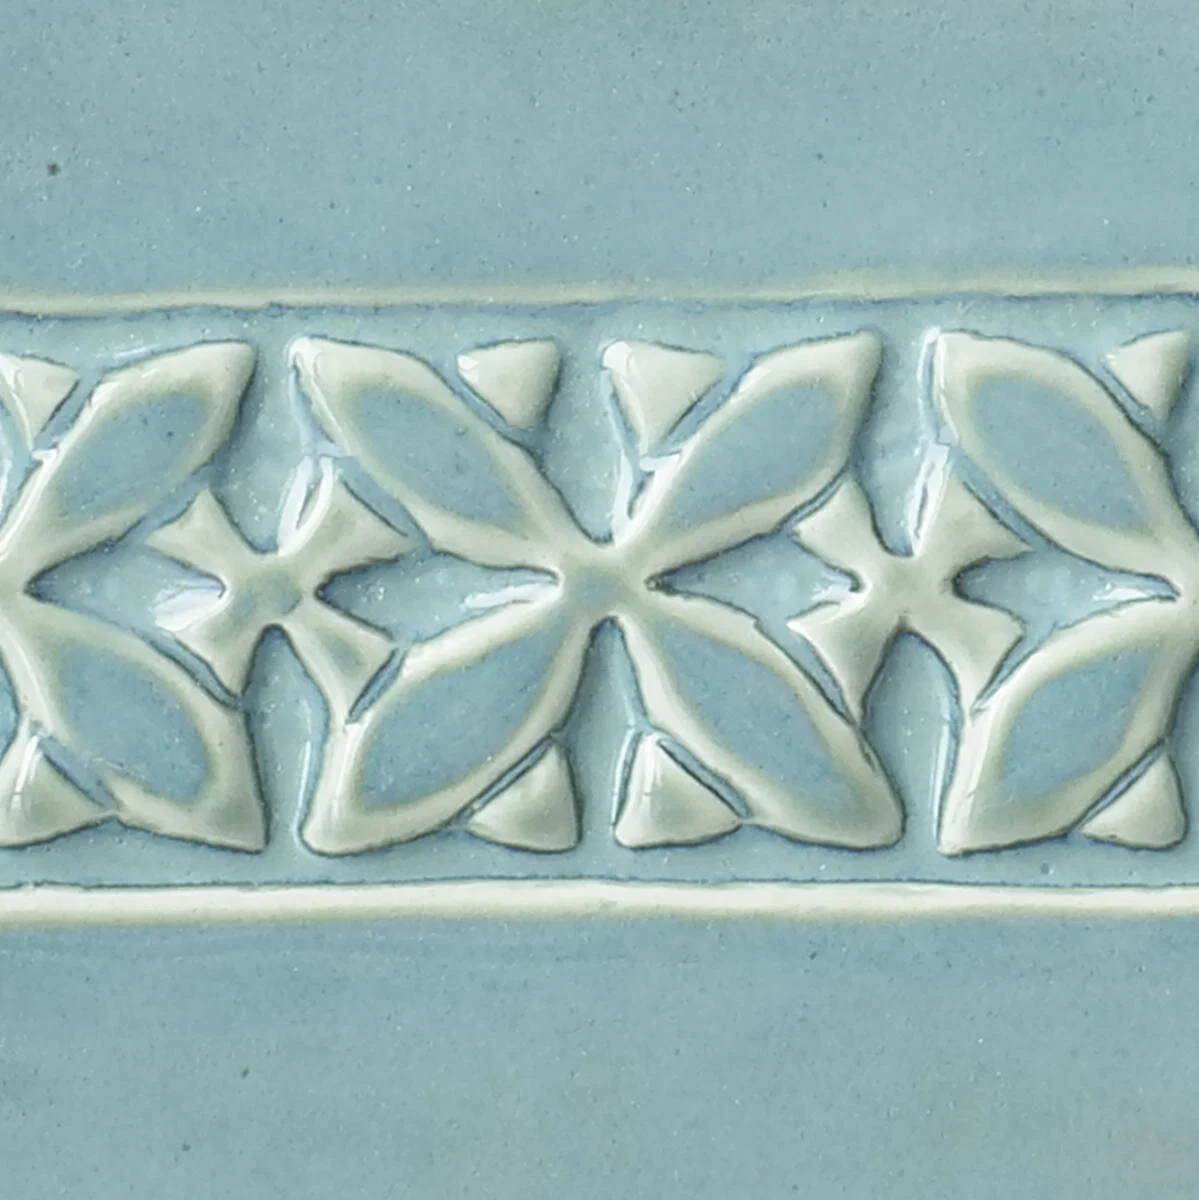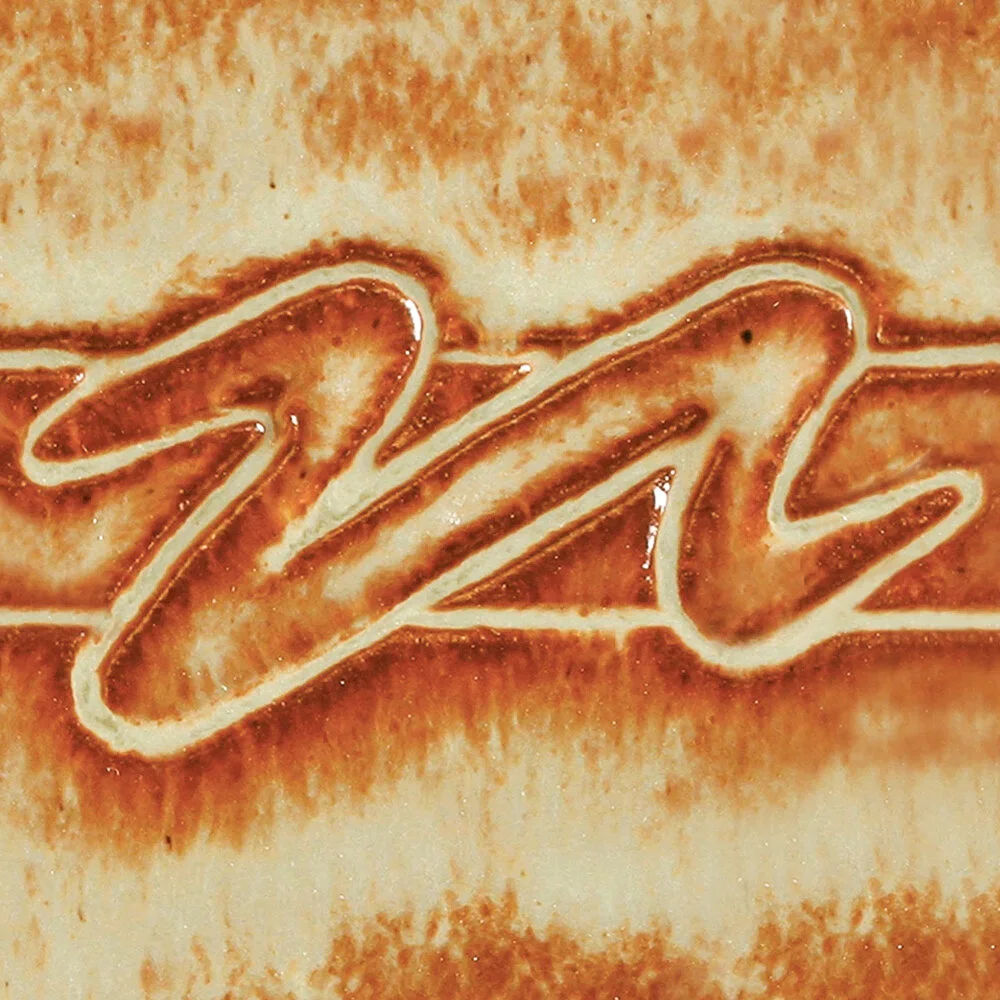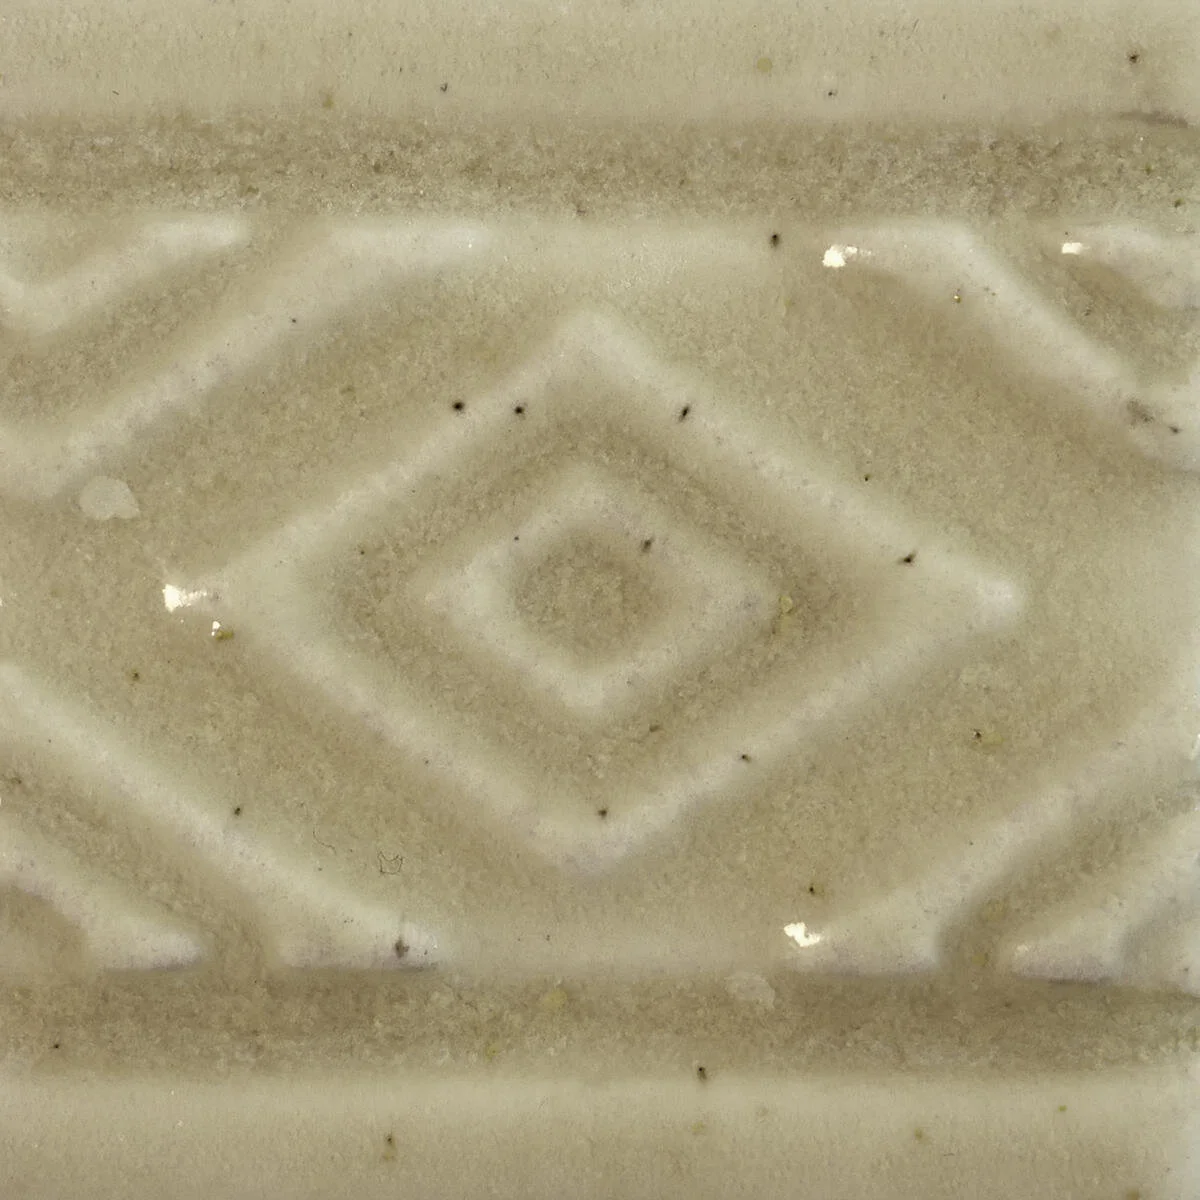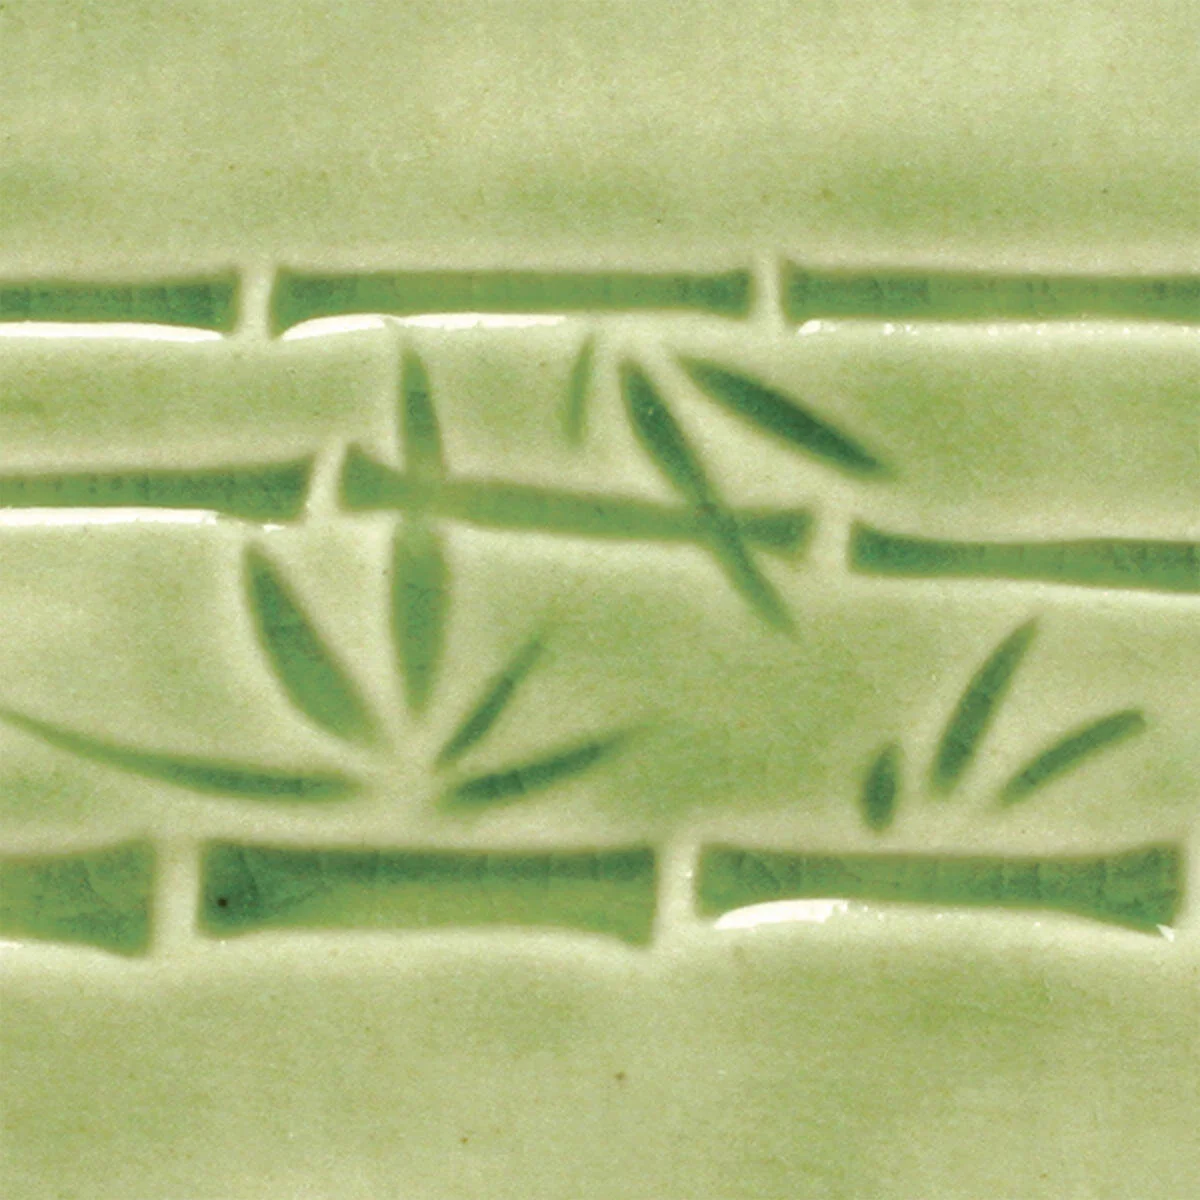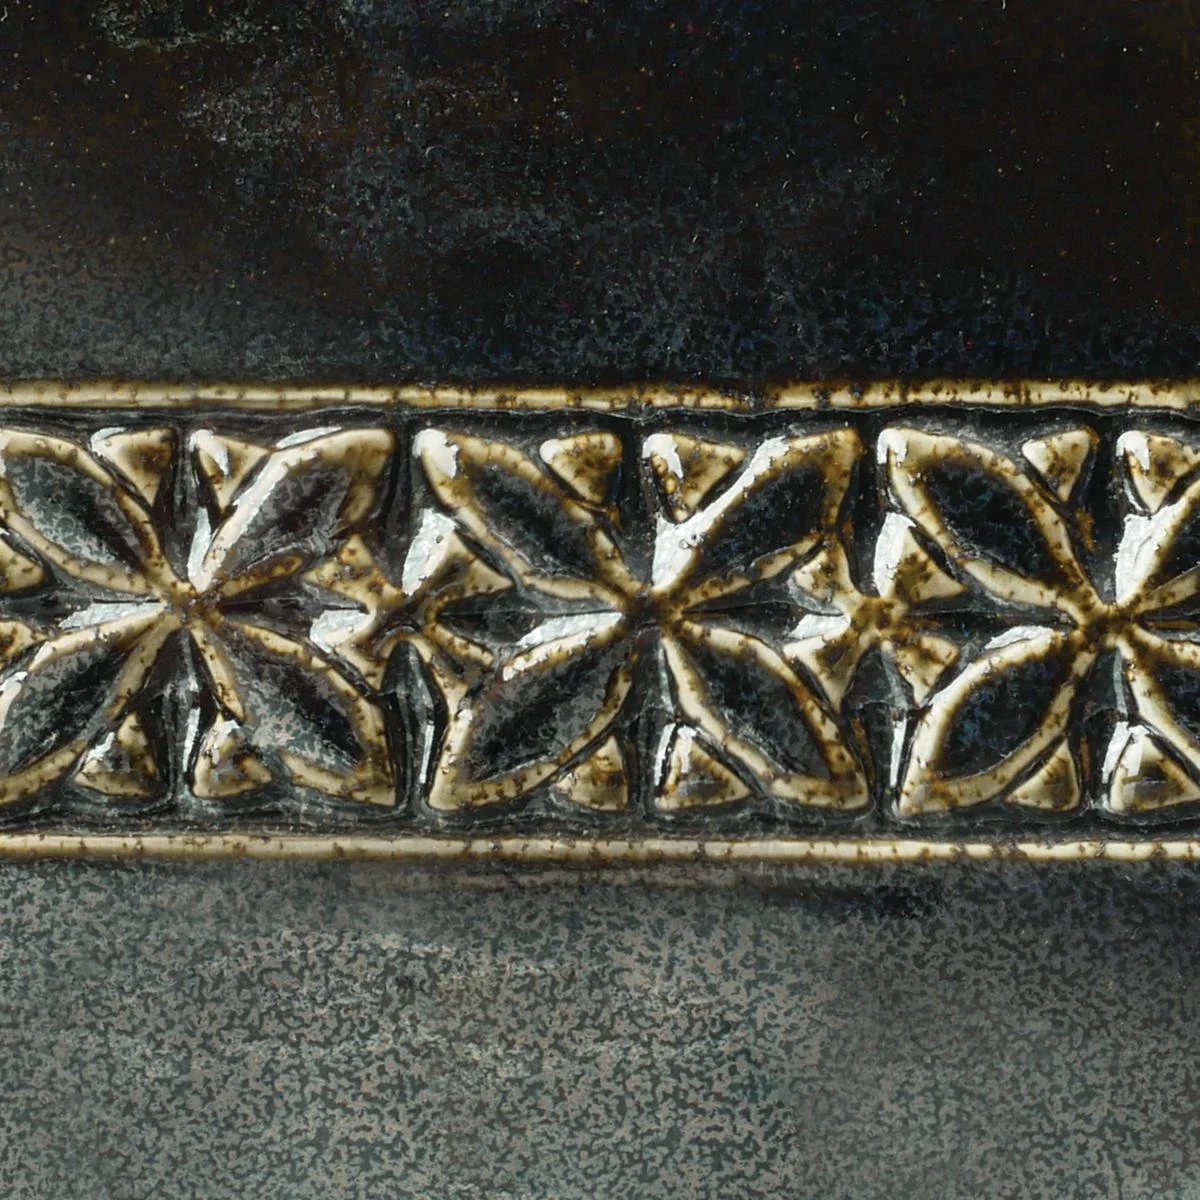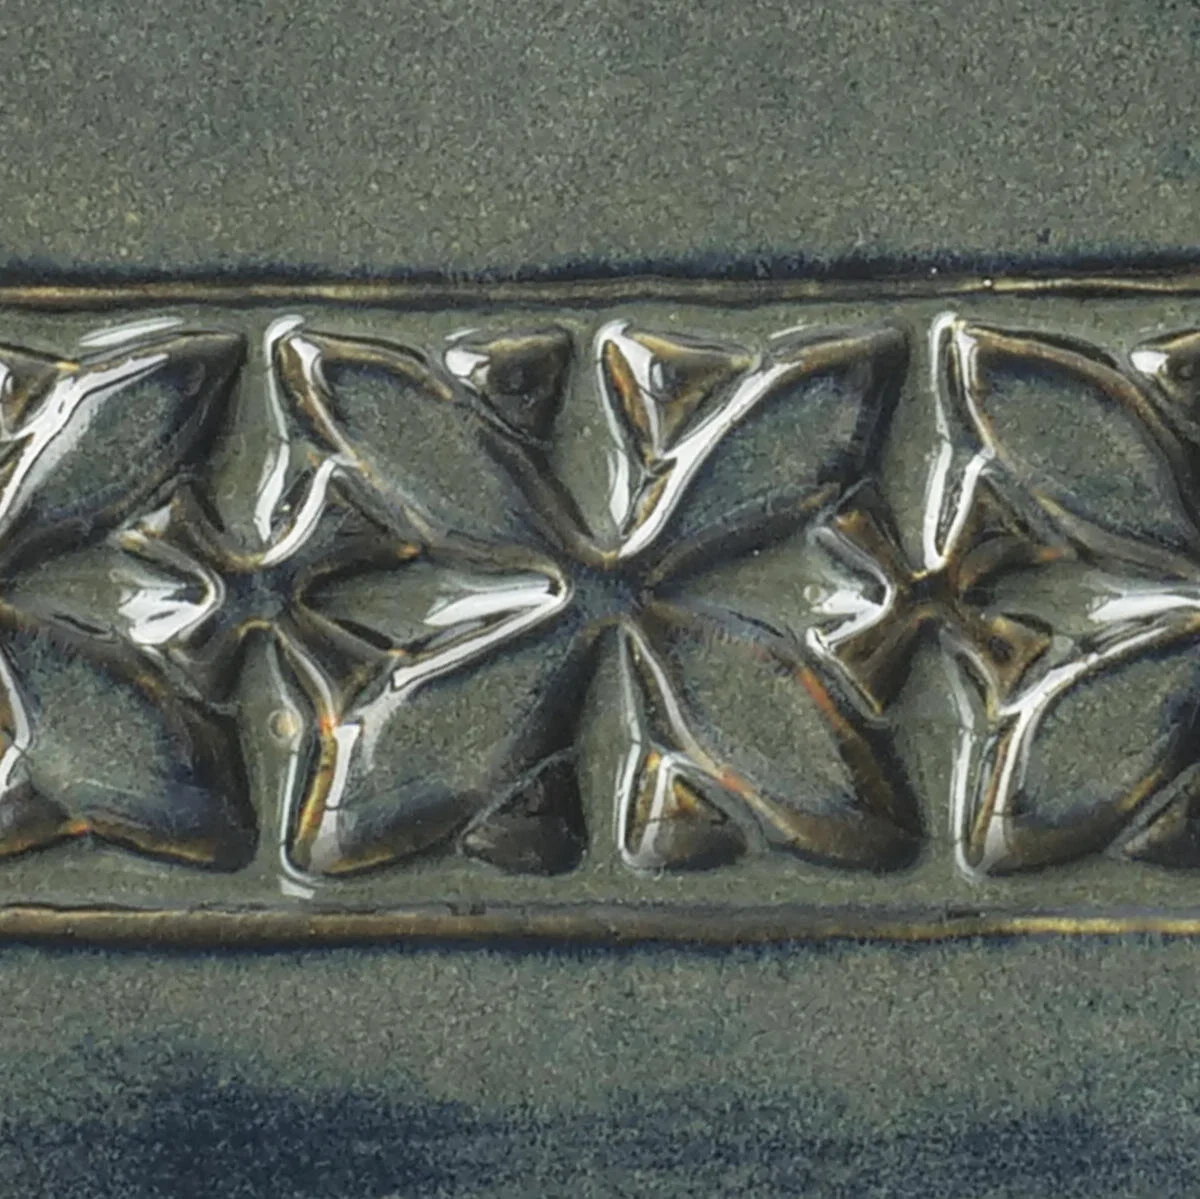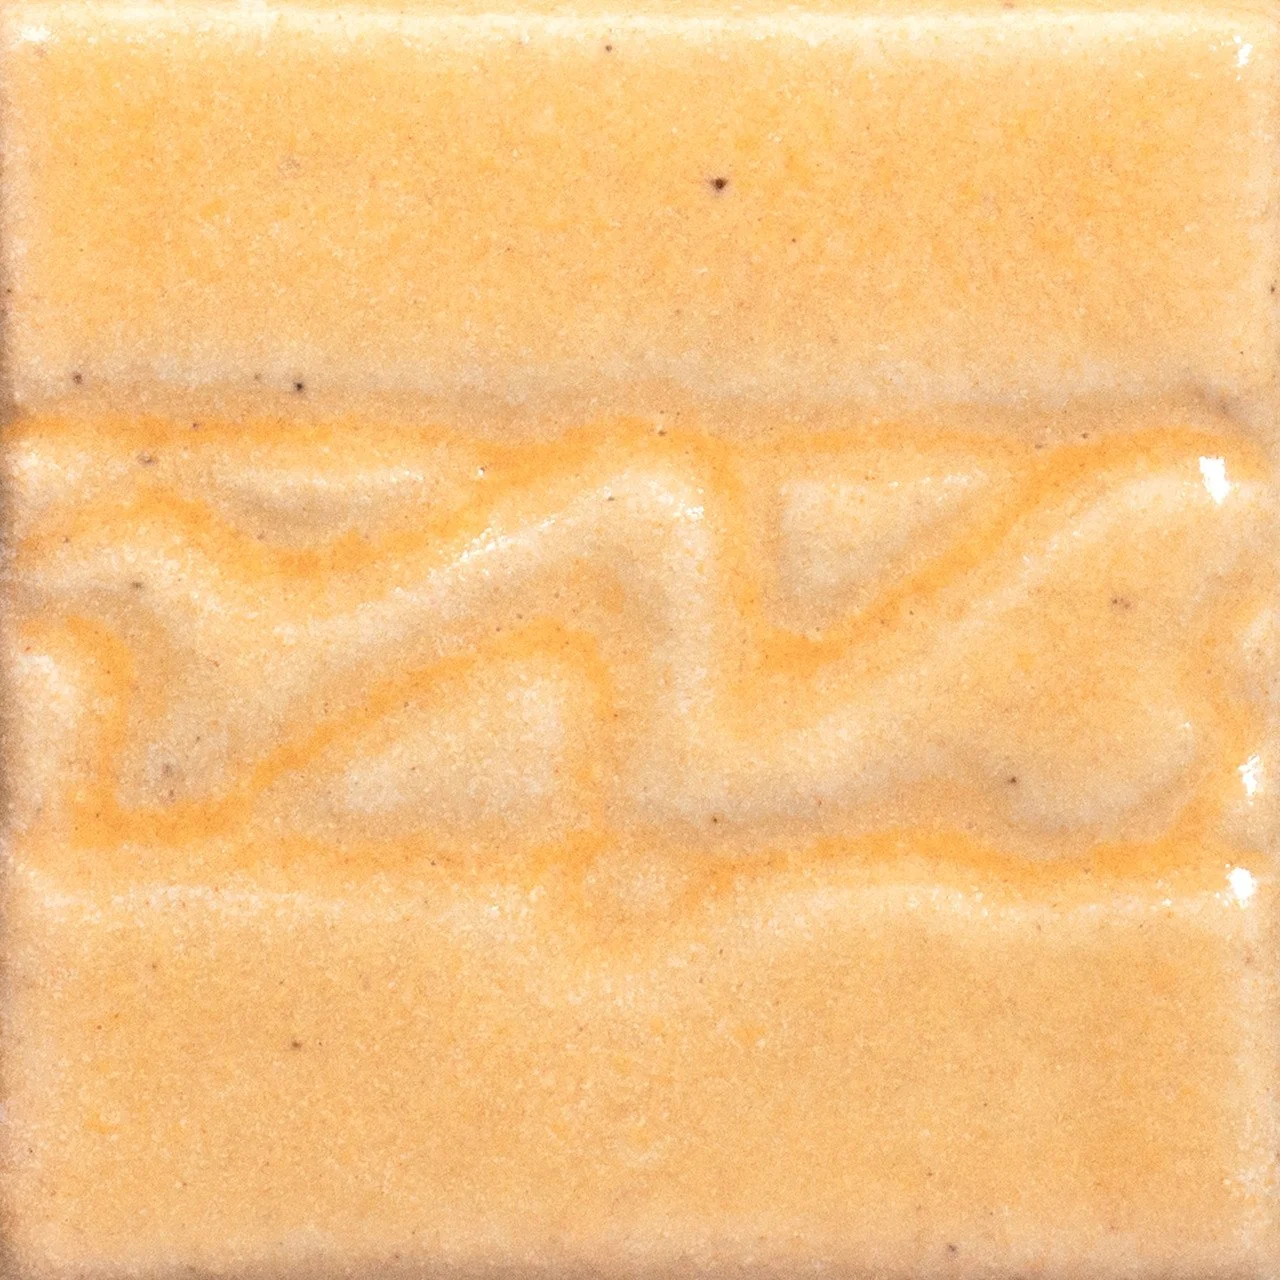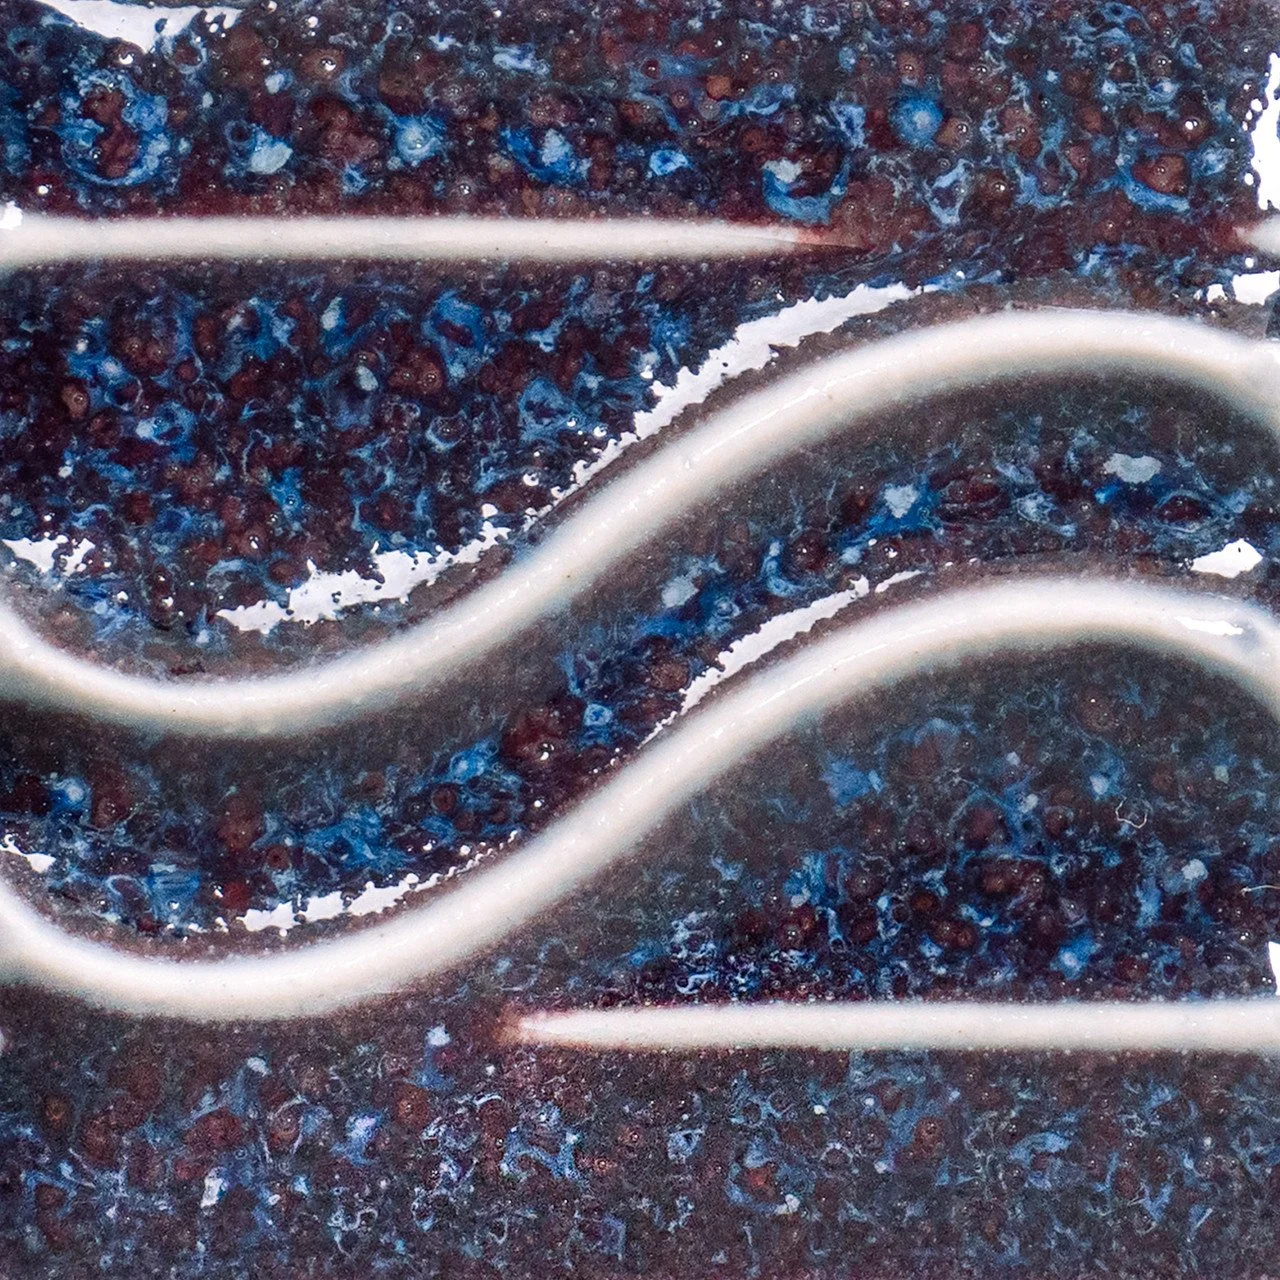
The Potter's Choice glaze series was designed with the potter in mind!
These stunning glazes add fluid colors and effects to smooth or textured ware, with optimal results at Cone 5/6. To use these glazes is to step into different ceramic glaze traditions of many cultures throughout history. Check out our PC Layering charts to see all the amazing results you can try in your own studio!
• Reduction Effects in Oxidation
• Variety of Colors and Surfaces
• Cone 5 / 6
• Limitless Layering Combinations!
Products
Product Series: The Potter's Choice Glazes
AMACO's Product Series videos take a closer look at their equipment and products to help you choose which are the best for your studio!
The AMACObrent product series videos explore the products and equipment made in our factory to help you choose which are perfect for your studio! Join the AM...
Application Instructions For Brushing
The following technical information pertains to the brushing formulations of the Potter’s Choice glazes available in pints and gallons.
Potter’s Choice glazes need to be applied at a certain thickness to bring out their true beauty. Although simple in concept, applying the correct glaze thickness is difficult to convey. AMACO® tells users to apply 3 coats (unless noted on the label) of glaze to ware. Unfortunately, everyone naturally applies different thicknesses in a coating with very different results.
The following tiles should allow users to see if they have applied the glaze too thick or too thin. As a general rule we find that most people who are having issues seem to be applying glaze on the light side.

The first tile in the set is a thin application. The second tile is slightly on the thin side and the third is slightly on the heavy side. A good application (as intended) would be between tiles 2 and 3. Obviously, the final look to be achieved is up to the end user.
Potters’ Choice Glaze Application Tips
Application Videos - Brushing
Application is key when layering Potter's Choice glazes. To insure that you're getting the best results we have created a video and a pdf that explains our approach.
Tracy Gamble takes us through her process of layering Potter's Choice Glazes when brushing. She address each step she takes to achieve the her own desired ou...


